The Irresistible Allure of Homemade Ice Cream Sandwiches
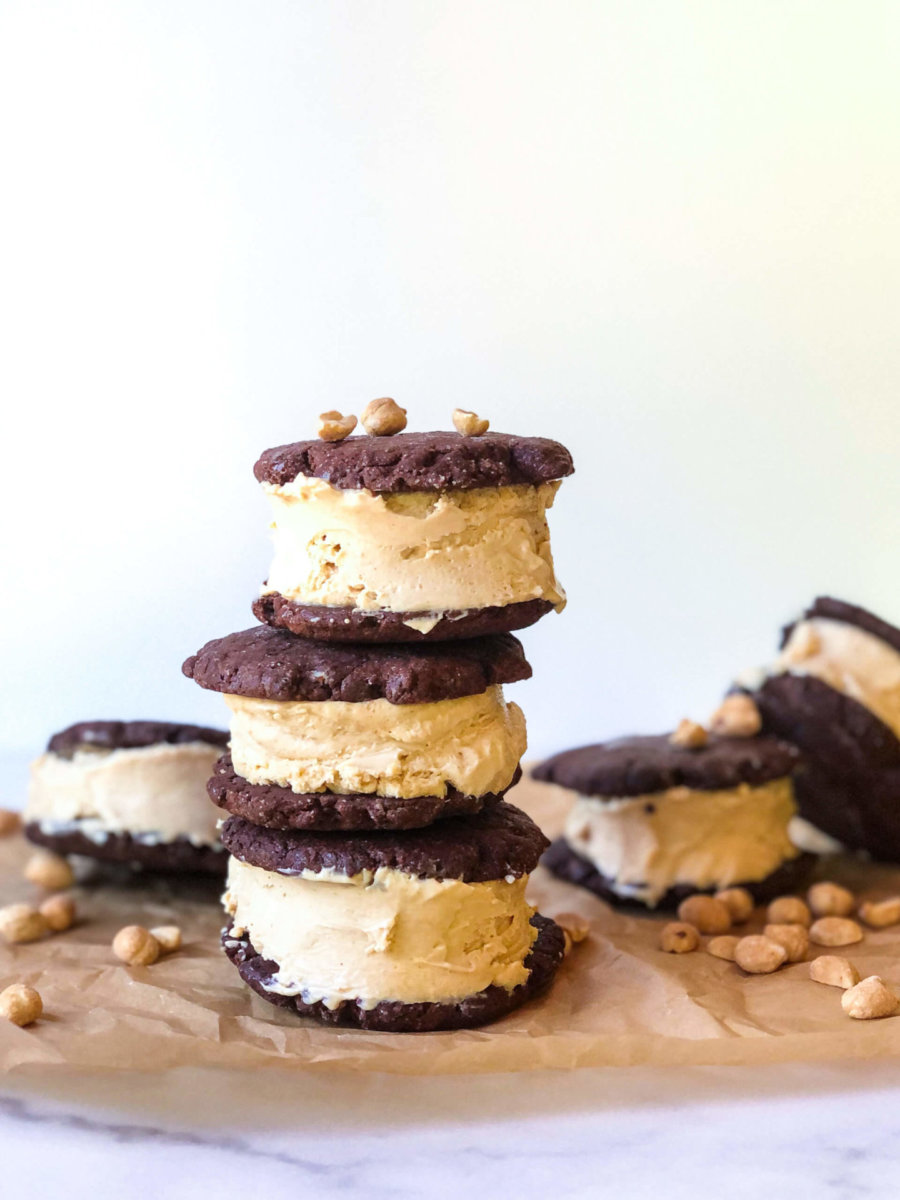
There's something uniquely satisfying about a homemade treat, and few desserts capture that magic quite like a perfectly crafted ice cream sandwich. Imagine biting into a decadent, chewy chocolate wafer, giving way to a rich, creamy, and wonderfully chilled peanut butter ice cream. It's an experience that store-bought versions simply can't replicate. If you've been dreaming of such a delight, then you're in the right place to discover the ultimate
peanut butter ice cream sandwich recipe – one that promises deep flavor, an incredibly satisfying texture, and the impressive simplicity of a no-churn method.
Forget the need for an ice cream maker; this recipe delivers astonishingly creamy results with minimal fuss. These aren't just any ice cream sandwiches; they are a sophisticated evolution of a beloved classic, reminiscent of a luxurious frozen peanut butter cheesecake, artfully encased in deeply chocolatey cookies. Much like a gourmet "hand pie," these individual desserts offer a portable slice of heaven whenever the craving strikes, making them the perfect companion for a warm summer day or any time you desire a truly special indulgence.
Crafting Your No-Churn Peanut Butter Cheesecake Ice Cream
The heart of these extraordinary sandwiches lies in their remarkably smooth and flavorful no-churn ice cream. The beauty of the no-churn method is its accessibility; no specialized equipment is required beyond a mixer and a freezer-safe container.
The No-Churn Base: Whipped Cream and Sweetened Condensed Milk
The foundation of any great no-churn ice cream is the magical combination of heavy cream and sweetened condensed milk. When whipped to stiff peaks, the heavy cream incorporates air, creating a light and ethereal texture. This whipped cream is then gently folded with sweetened condensed milk, which provides the necessary sweetness and prevents ice crystal formation, resulting in an incredibly smooth and scoopable ice cream straight from the freezer.
Infusing the Peanut Butter Cheesecake Flavor
To elevate our base, we introduce the irresistible duo of peanut butter and cream cheese, transforming it into a luxurious "cheesecake" experience. For the best results, use a creamy, good-quality peanut butter – avoid natural varieties that separate too much, as they can alter the ice cream's texture. Incorporating softened cream cheese with powdered sugar ensures a silky-smooth, tangy-sweet cheesecake essence that perfectly complements the nutty peanut butter. For a truly sublime flavor, ensure both your cream cheese and peanut butter are at room temperature before mixing, allowing them to blend seamlessly into a velvety concoction.
Tips for a Perfect Freeze
For optimal texture, once your peanut butter cheesecake ice cream mixture is prepared, spread it evenly into a parchment-lined pan (a 9x13 inch pan works well for thinner layers, or an 8x8 for thicker sandwiches). Cover tightly with plastic wrap, pressing it directly onto the surface of the ice cream to prevent freezer burn and ice crystals. Freeze for at least 6-8 hours, or ideally, overnight, to ensure it's perfectly firm and ready for assembly. This patience will be richly rewarded!
Baking the Decadent Chocolate Wafer Cookies
While some might be tempted to use store-bought chocolate graham crackers or wafer cookies, trust us when we say that making your own chocolate wafers for these ice cream sandwiches is an absolute game-changer. These homemade cookies aren't just a vessel; they are an integral part of the experience, offering a deep, intense chocolate flavor and a tender-yet-sturdy texture that won't break your teeth when frozen.
The Simple "One-Bowl" Method
Our chocolate wafers are designed for ease, often requiring just one bowl for mixing. The process typically begins by melting unsalted butter with unsweetened chocolate or cocoa powder, creating a rich base. To this, granulated sugar and a pinch of salt are added, followed by the flour. The dough comes together quickly and easily.
Once mixed, the dough needs a brief chill – usually about an hour in the refrigerator. This step is crucial for firming it up, making it easier to roll and cut. However, a word of caution: don't let it chill for too long, as it can become very hard and difficult to work with. If it does get too stiff, simply let it sit at room temperature for a few minutes until it's pliable again. Roll the dough to about 1/4 inch thickness and cut into your desired sandwich shapes (squares or rectangles work best).
Tips for Crispy-Soft Perfection
Bake the cookies until they are just set, slightly puffed, and fragrant. Over-baking will make them too crisp, which isn't ideal for a frozen sandwich. Once baked, let them cool briefly on the baking sheet before transferring them to a wire rack to cool completely. This helps them firm up without becoming brittle. The goal is a cookie that holds its shape, offers a rich chocolate bite, and softens beautifully around the creamy ice cream when chilled.
For those who love to experiment with different cookie bases, you might also enjoy exploring options like
Banana Peanut Butter Ice Cream Sandwiches with Oat Cookies, which offer a delightful, wholesome twist with a chewy texture.
Assembling and Freezing Your Masterpieces
With your creamy no-churn ice cream perfectly frozen and your chocolate wafers cooled, the exciting part begins: assembly!
Carefully lift your frozen peanut butter ice cream from its pan using the parchment paper, placing it onto a cutting board. Trim the edges if necessary and then cut the ice cream into pieces that match the size of your chocolate wafers. This ensures neat, uniform sandwiches.
Place one chocolate wafer down, top it with a slice of the peanut butter ice cream, and then gently press another wafer on top. Use a small offset spatula or the back of a spoon to smooth any overflowing ice cream around the edges for a clean finish.
Once assembled, wrap each ice cream sandwich individually in plastic wrap or parchment paper, then transfer them to an airtight freezer-safe container. This final freeze is vital; allow them to firm up for at least another 4-6 hours, or ideally, overnight. This prolonged chill melds the flavors, firms up the ice cream, and allows the cookies to achieve their perfect frozen-soft texture. For even more straightforward approaches to this classic, you might enjoy our
Easy Homemade Peanut Butter Ice Cream Sandwiches Recipe, which offers additional simplified techniques.
Serving Suggestions and Creative Twists
When you're ready to indulge, simply remove the homemade chocolate peanut butter ice cream sandwiches from the freezer about 5-10 minutes before serving. This brief rest allows the ice cream to soften just enough to be perfectly creamy and the cookies to become delightfully chewy.
Don't hesitate to get creative with your sandwich fillings and coatings!
- Add-ins: Swirl a ribbon of hot fudge or caramel sauce into the ice cream before freezing, or fold in mini chocolate chips or chopped roasted peanuts for extra texture.
- External coatings: Roll the edges of your finished sandwiches in sprinkles, more mini chocolate chips, or finely chopped nuts for an extra festive touch and added flavor.
- Dipping: For the ultimate indulgence, dip half of your assembled sandwich into melted chocolate, then quickly return it to the freezer to set.
These sandwiches can be stored in an airtight container in the freezer for up to 2-3 weeks, though we doubt they'll last that long! They're perfect for impromptu gatherings, a special dessert after dinner, or simply as a well-deserved personal treat.
Conclusion
Creating your own homemade chocolate peanut butter no-churn ice cream sandwiches is a deeply rewarding culinary adventure. From the rich, tender chocolate wafers to the incredibly creamy, no-churn peanut butter cheesecake ice cream, every component sings in harmony, delivering a treat that far surpasses any store-bought alternative. This
peanut butter ice cream sandwich recipe offers simplicity without sacrificing decadence, proving that the most extraordinary desserts can indeed be made right in your own kitchen. So, gather your ingredients, embrace the joy of homemade, and prepare to delight your taste buds with these sensational frozen treats. Your freezer, and your sweet tooth, will thank you.